Self-Hosted Task Manager for Teams
Your Projects. Your Server.
Your Projects. Your Server.
Everything you need to ship faster
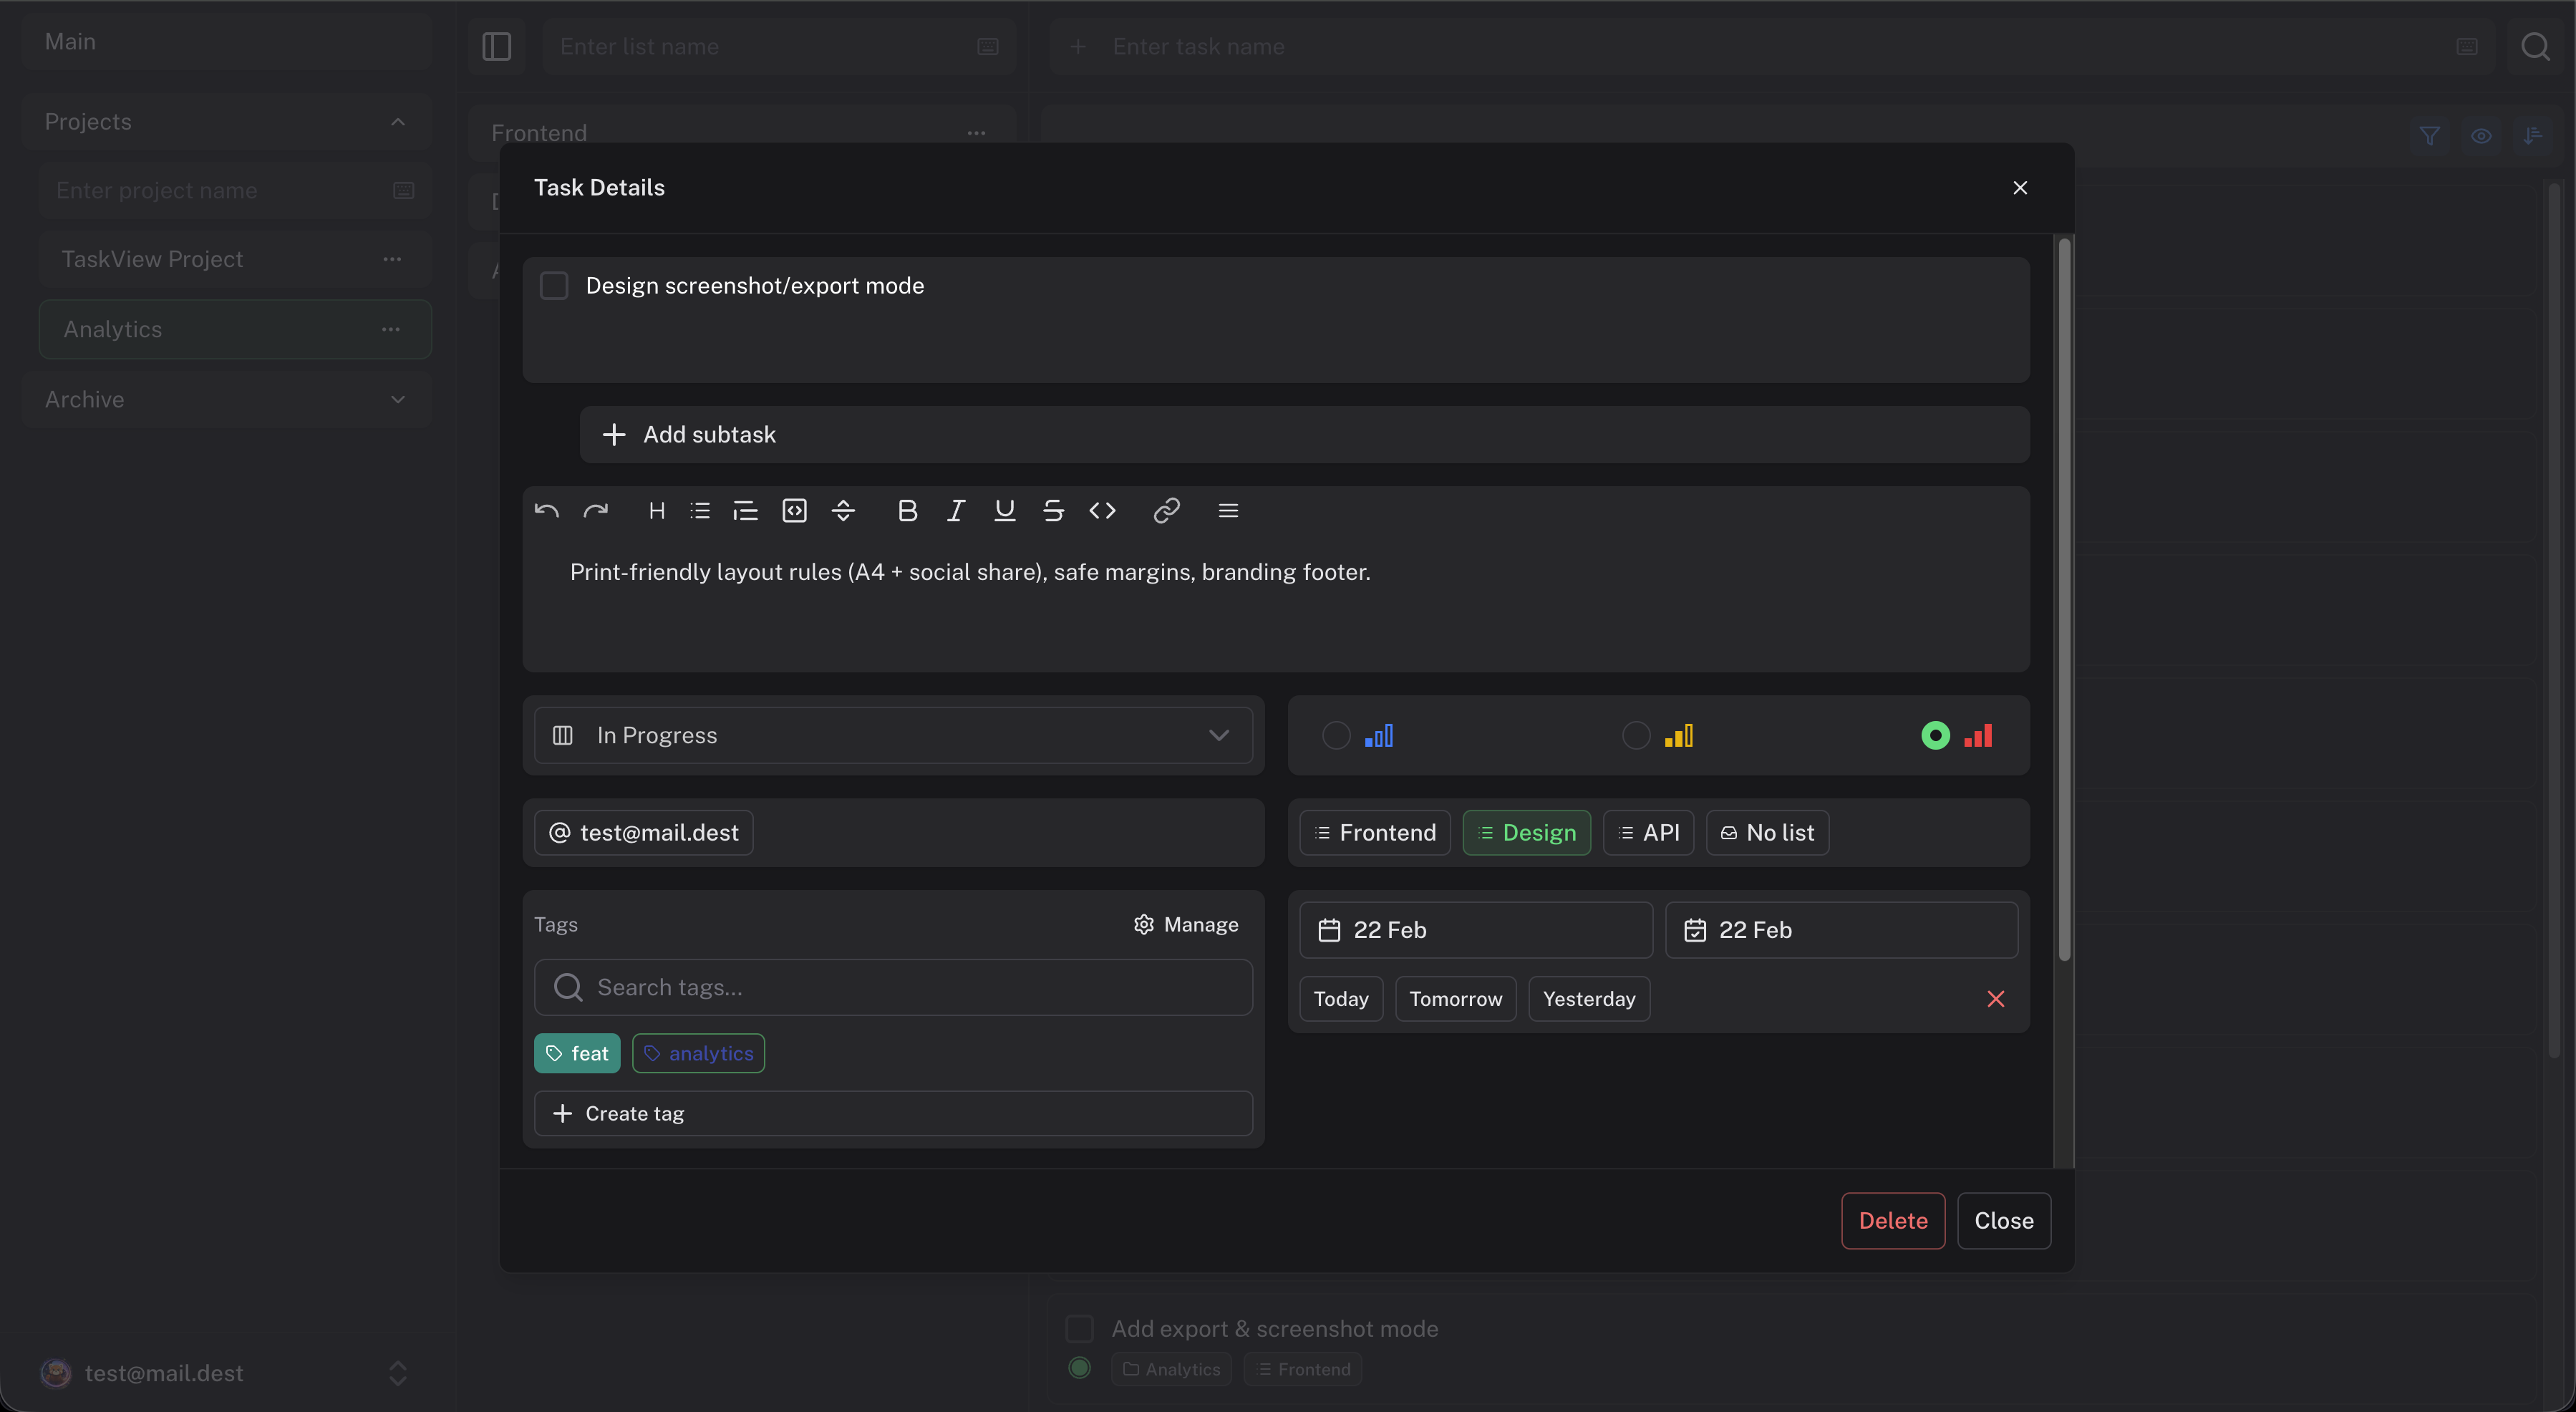
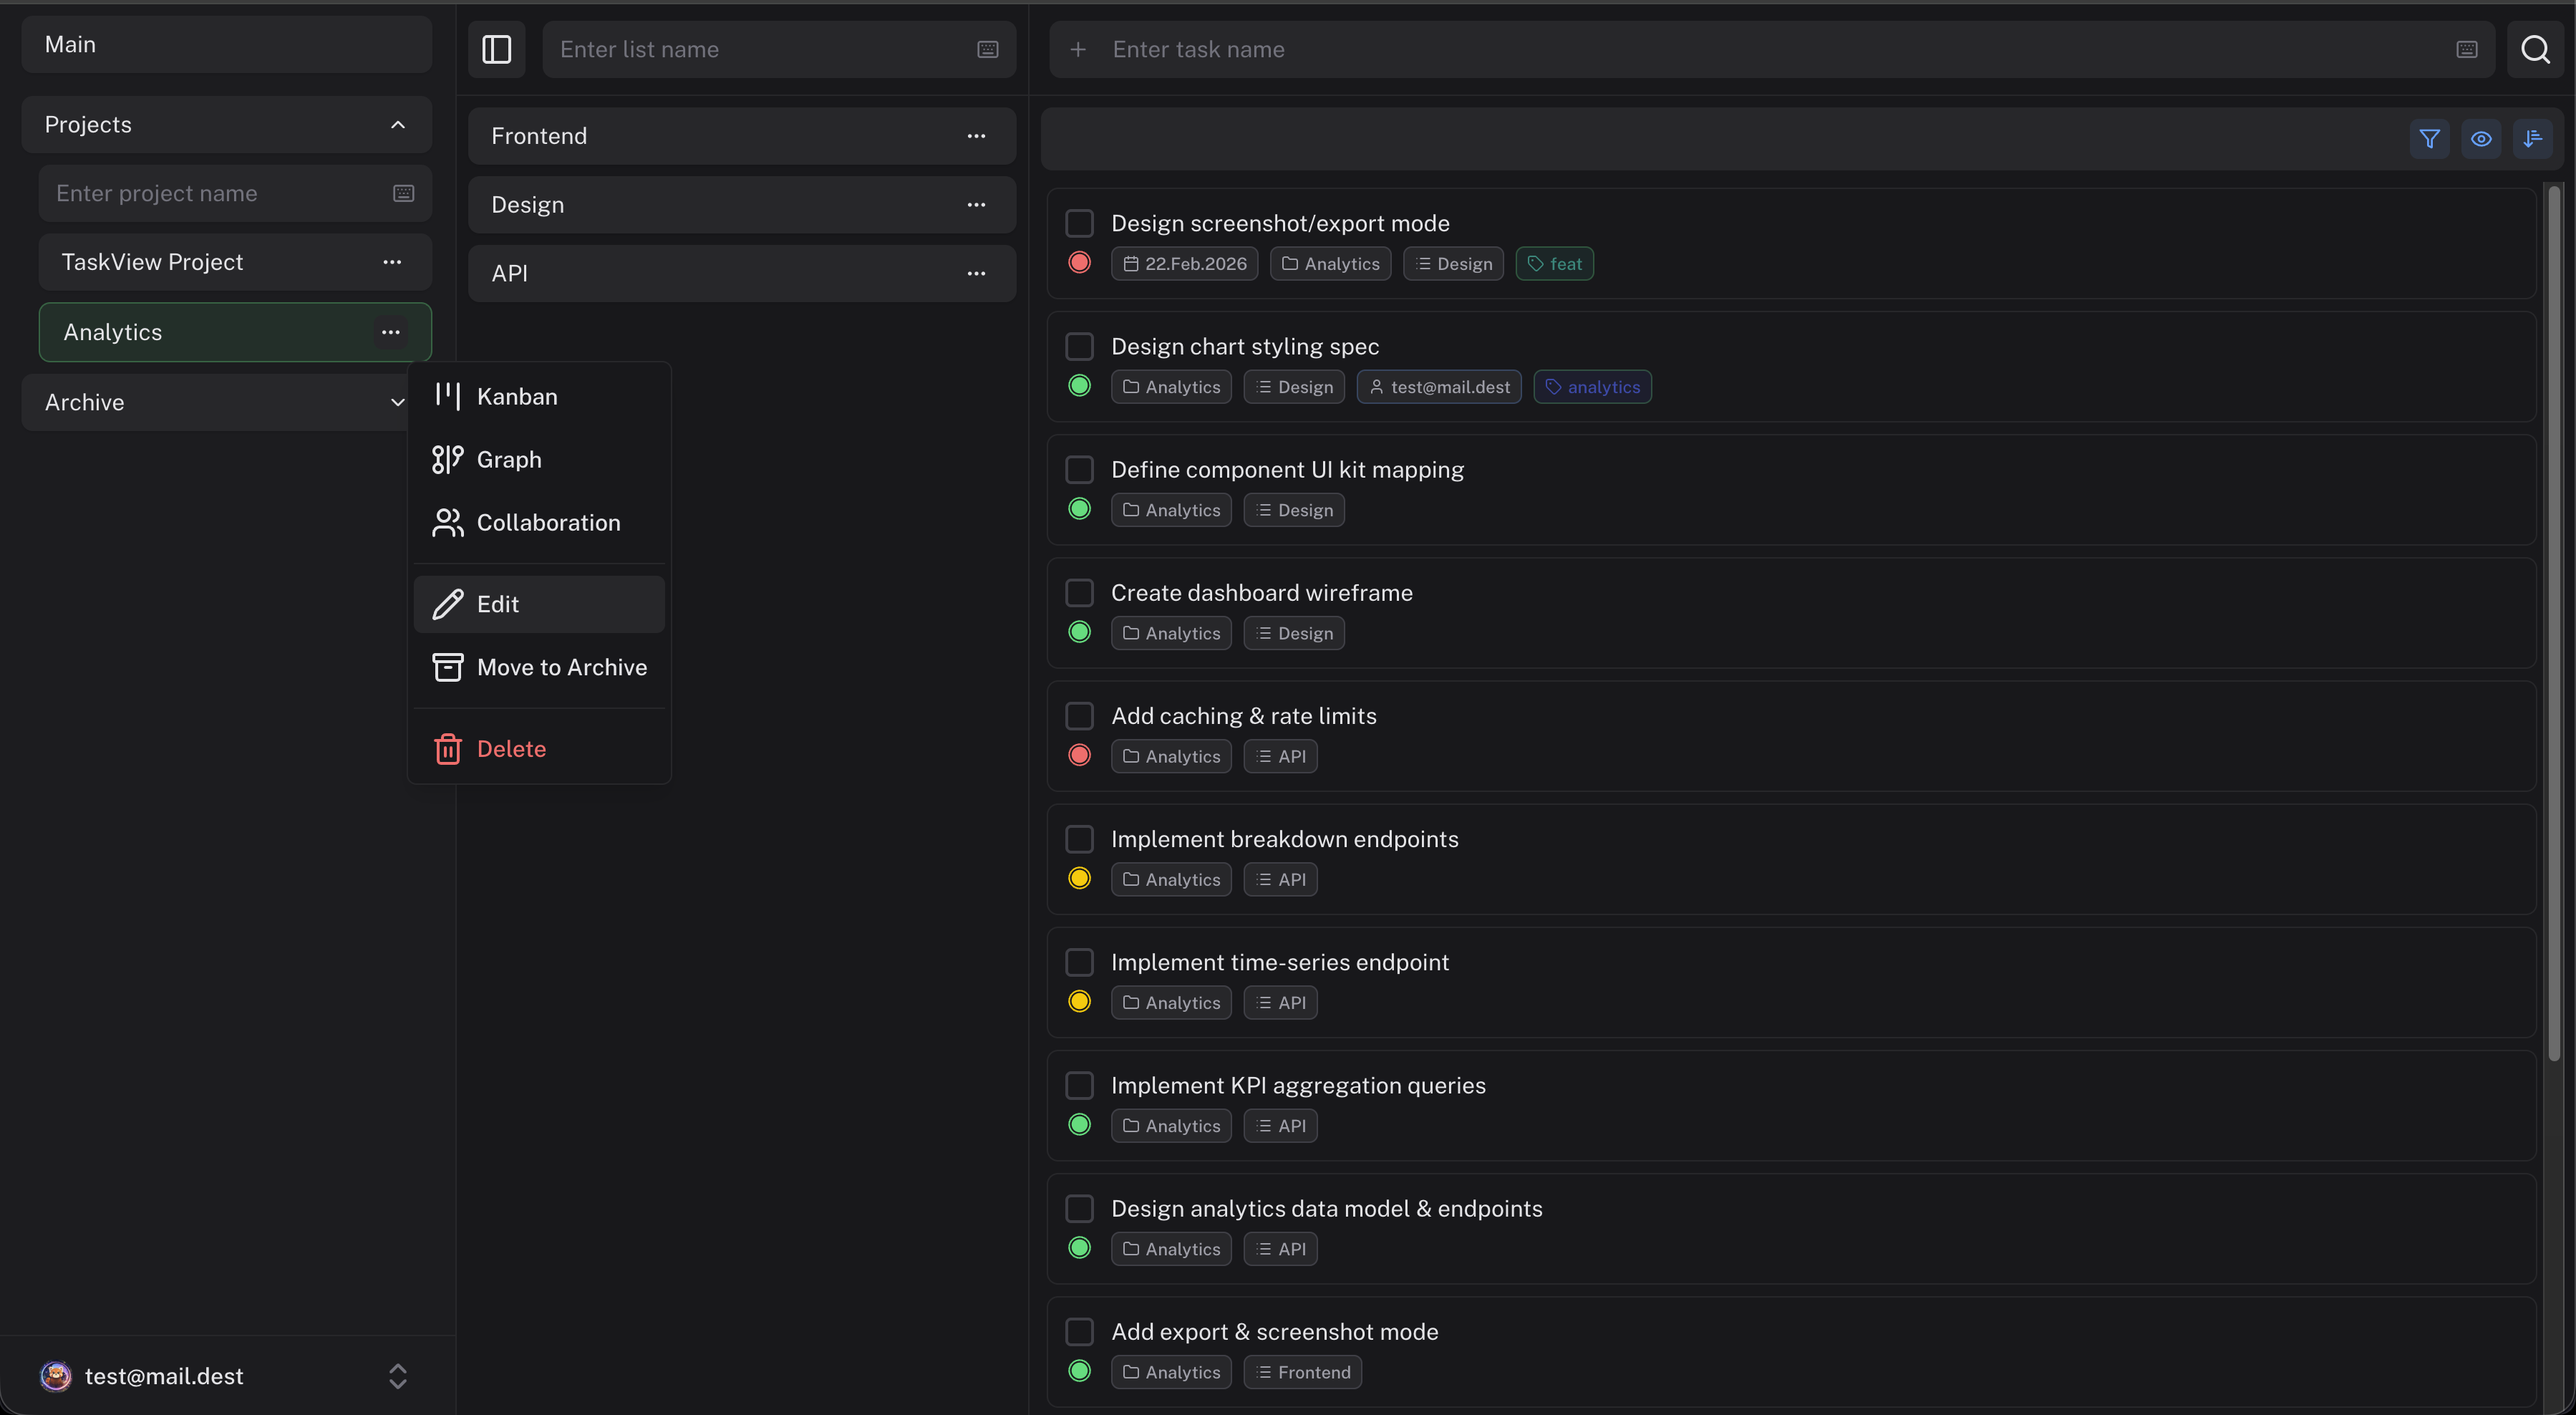
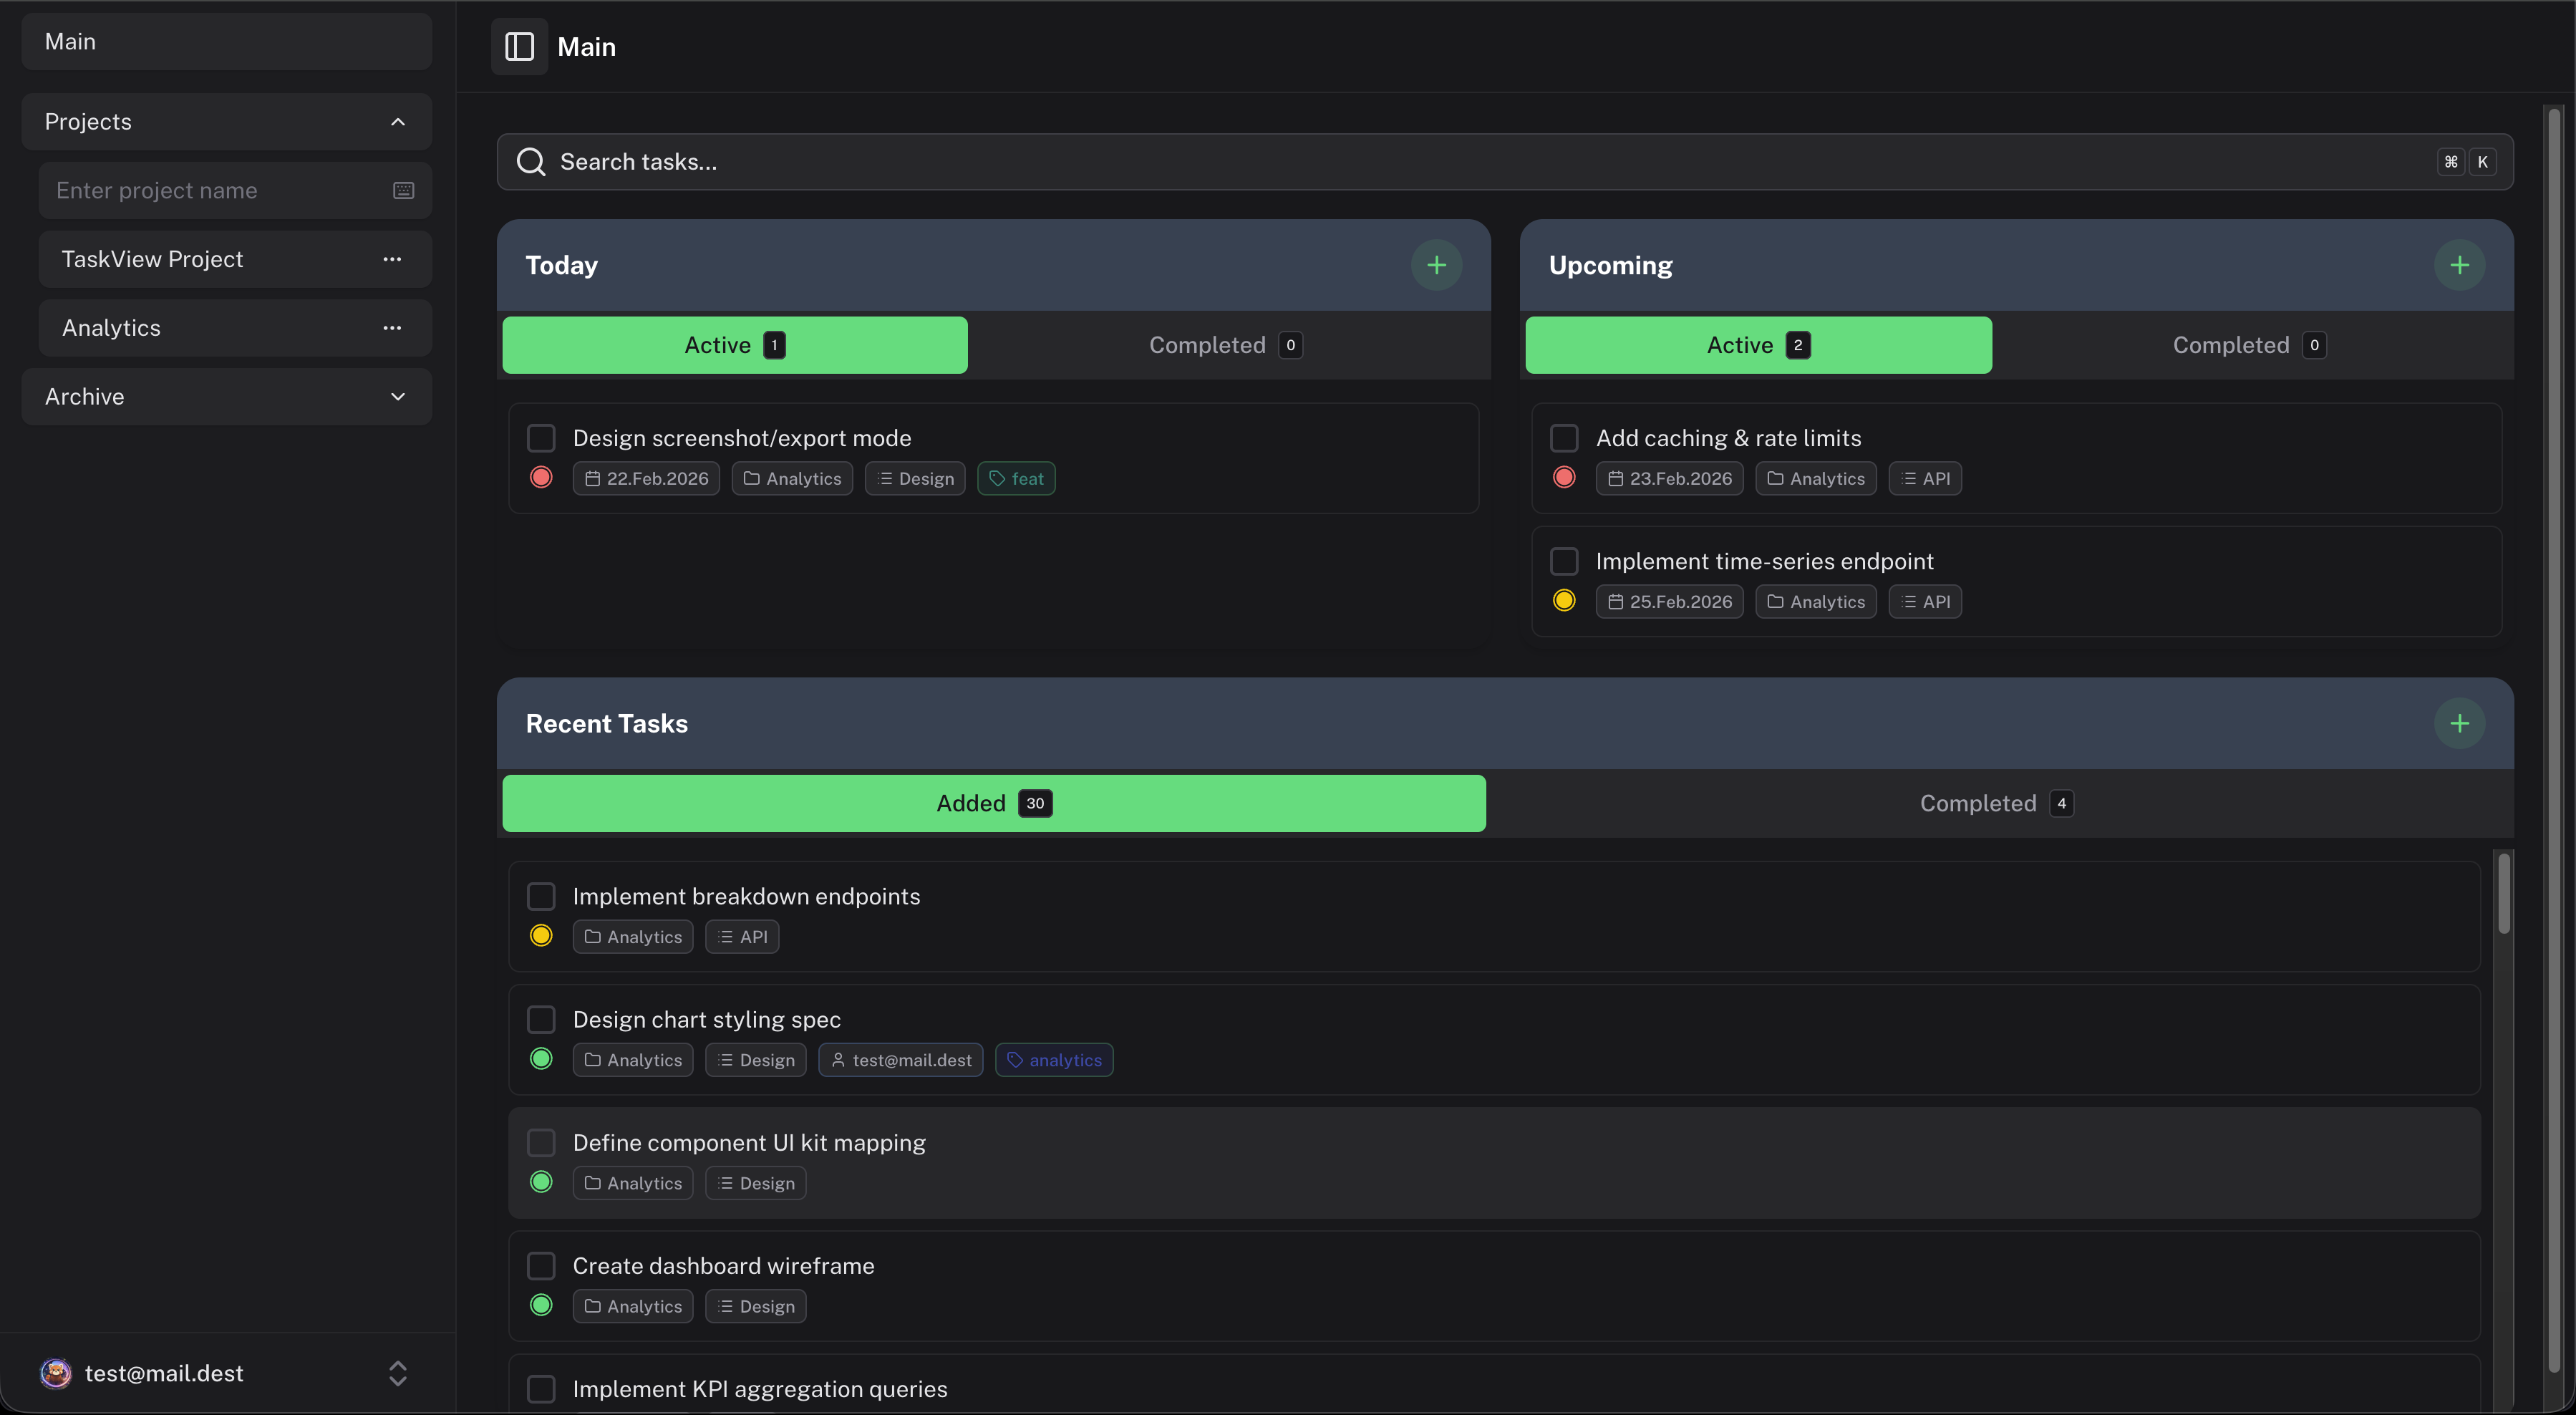
- Priorities, deadlines, notes, tags, file attachments, and unlimited subtask nesting. Assign tasks to multiple team members at once.
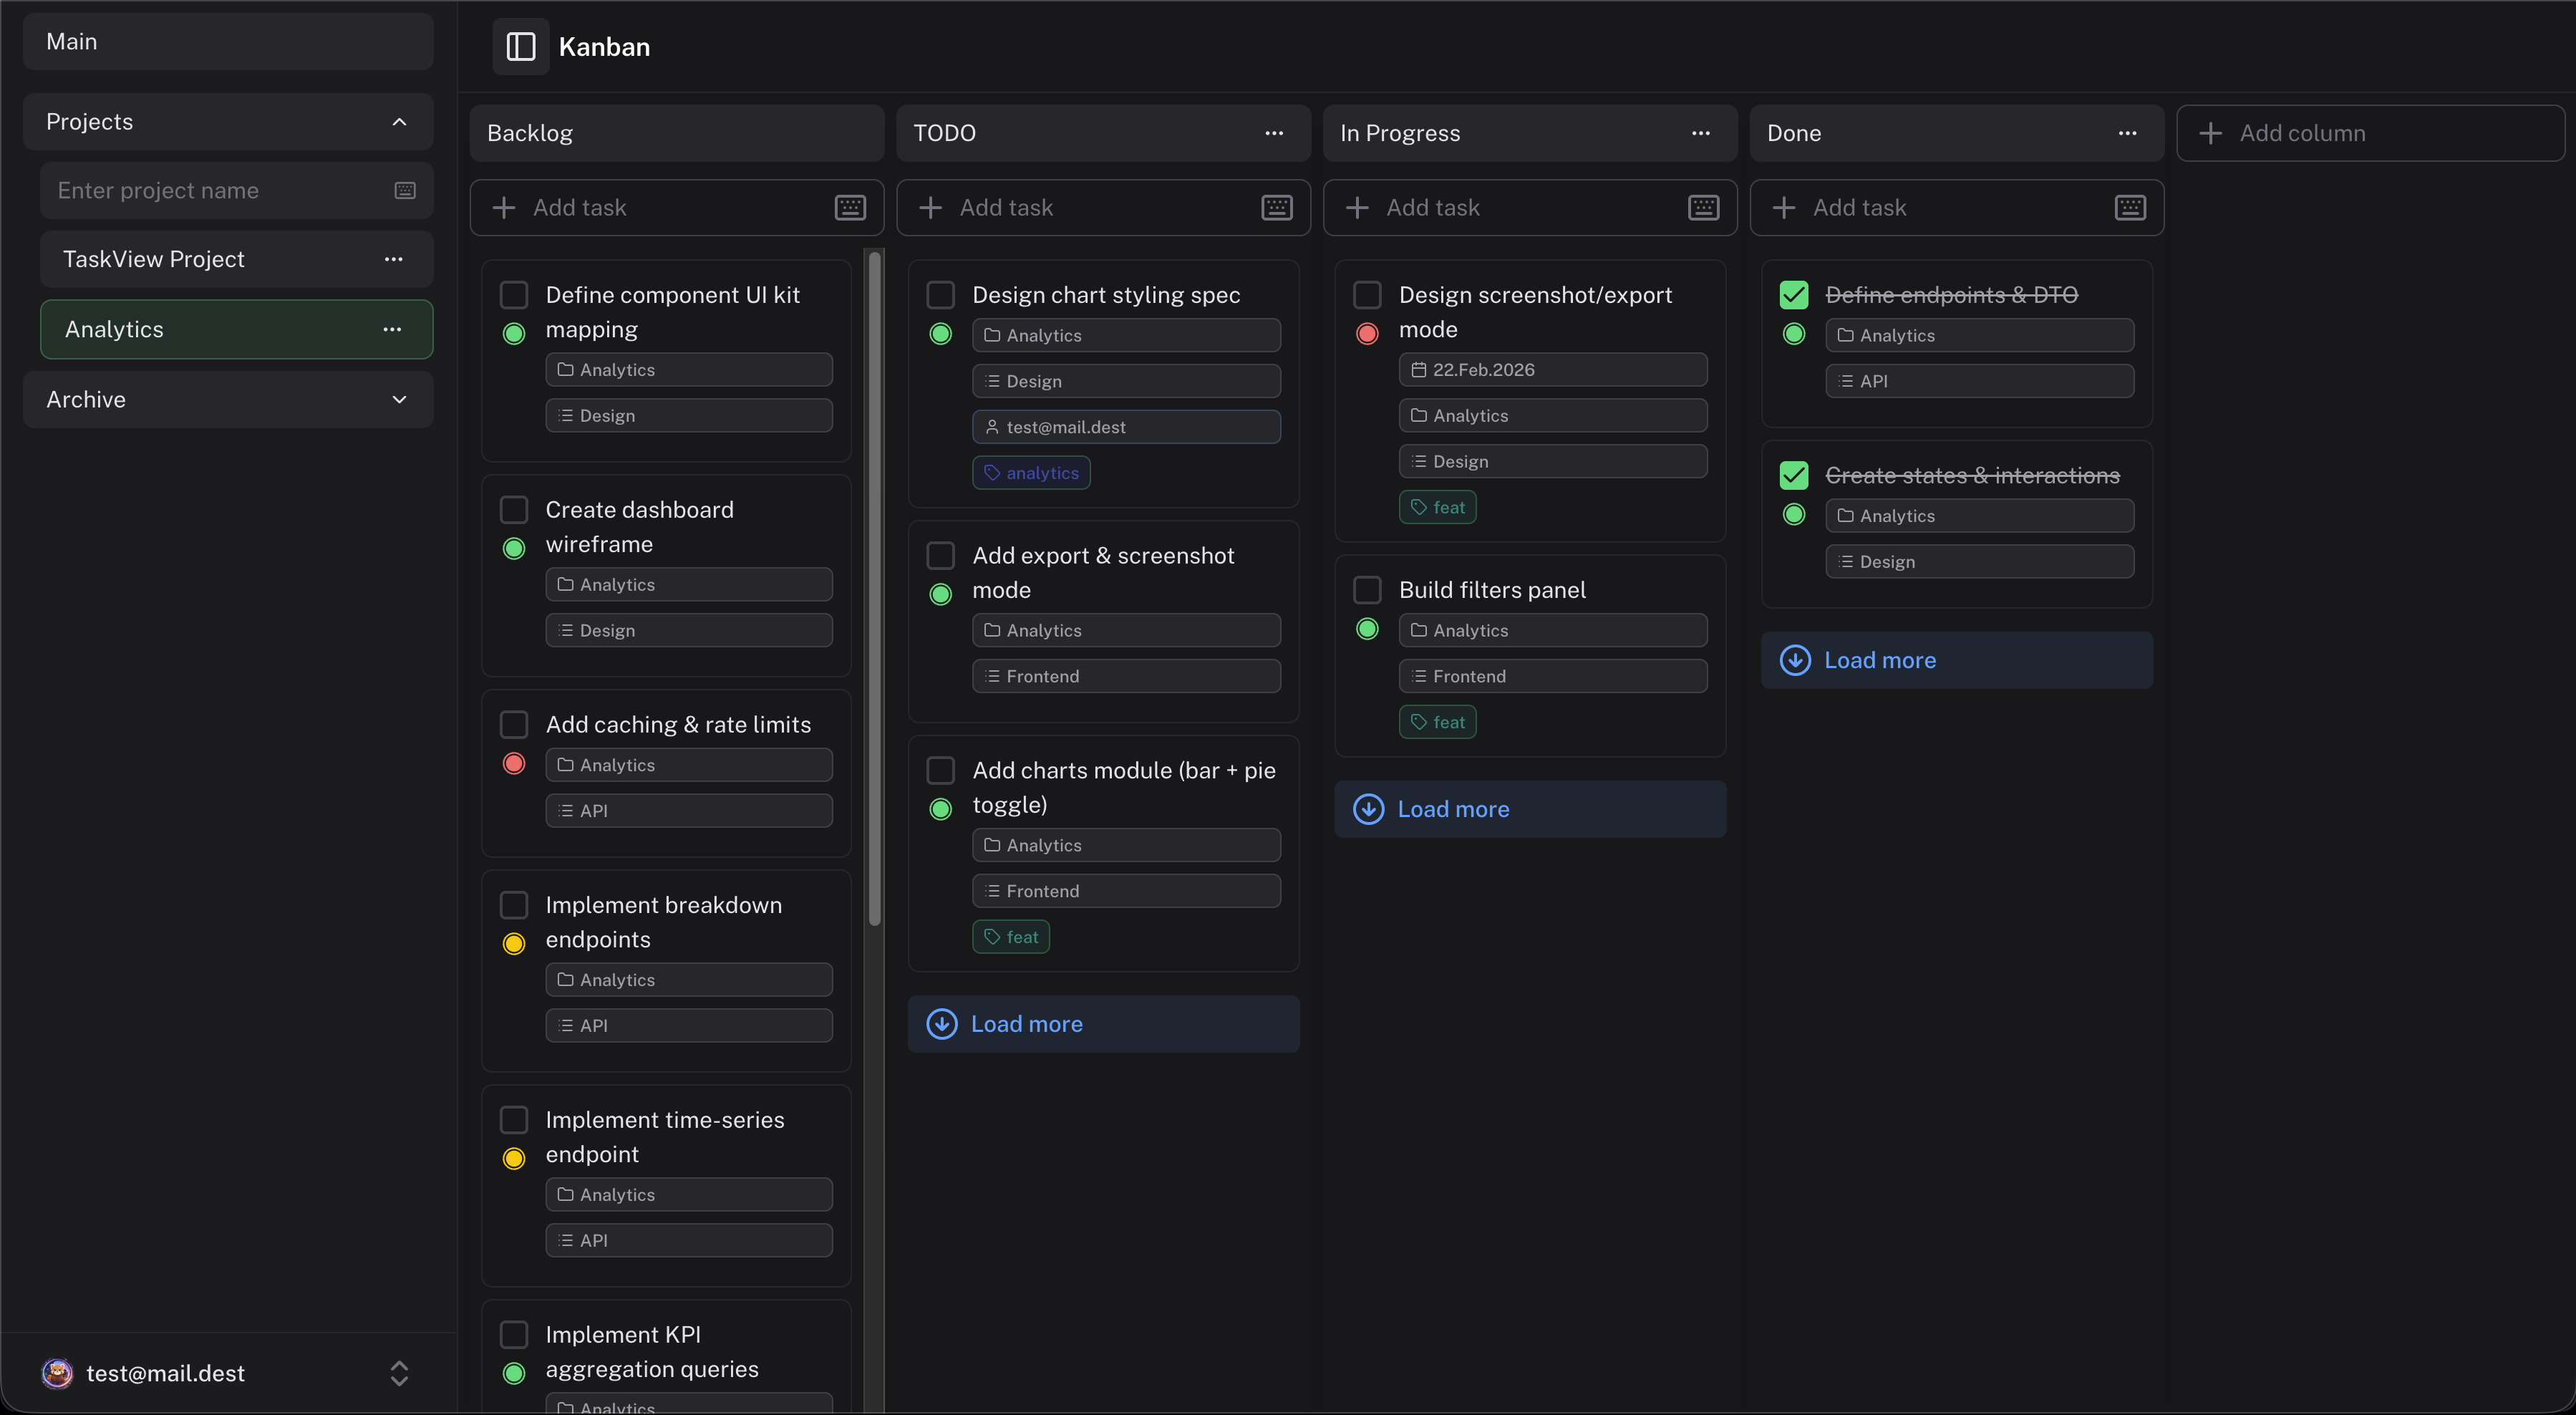
- Drag-and-drop columns with custom statuses per project. See your workflow the way it actually works.
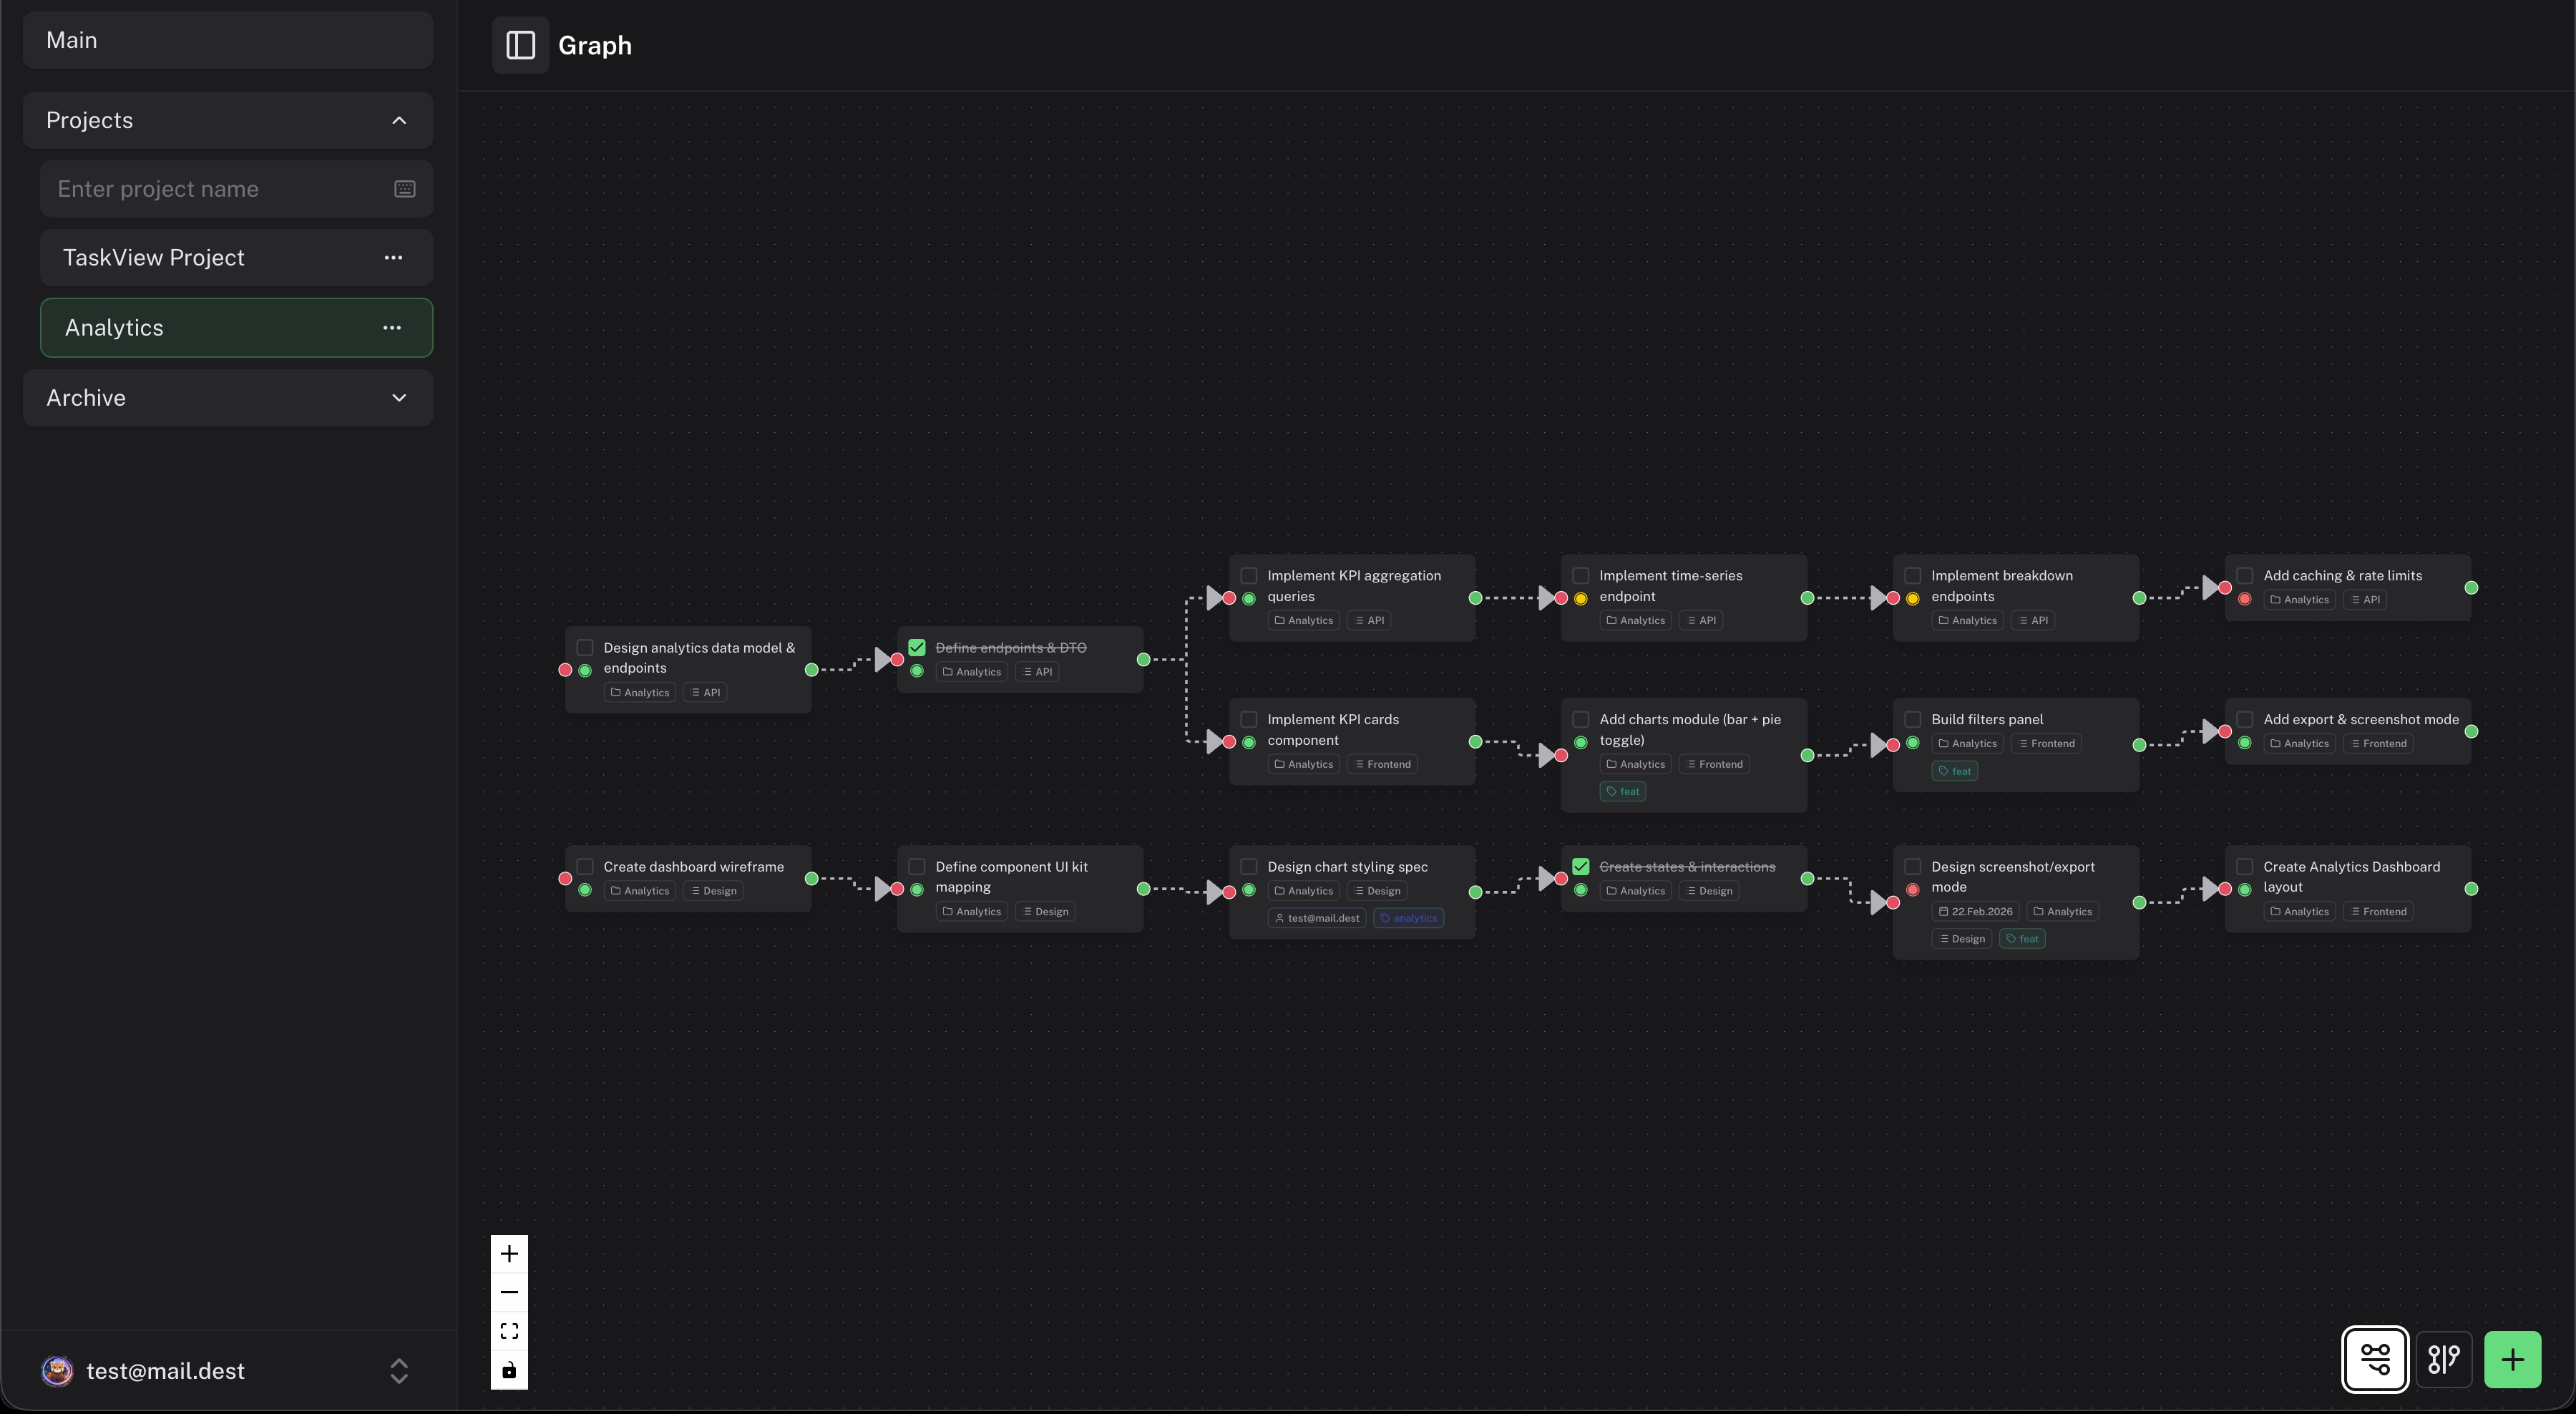
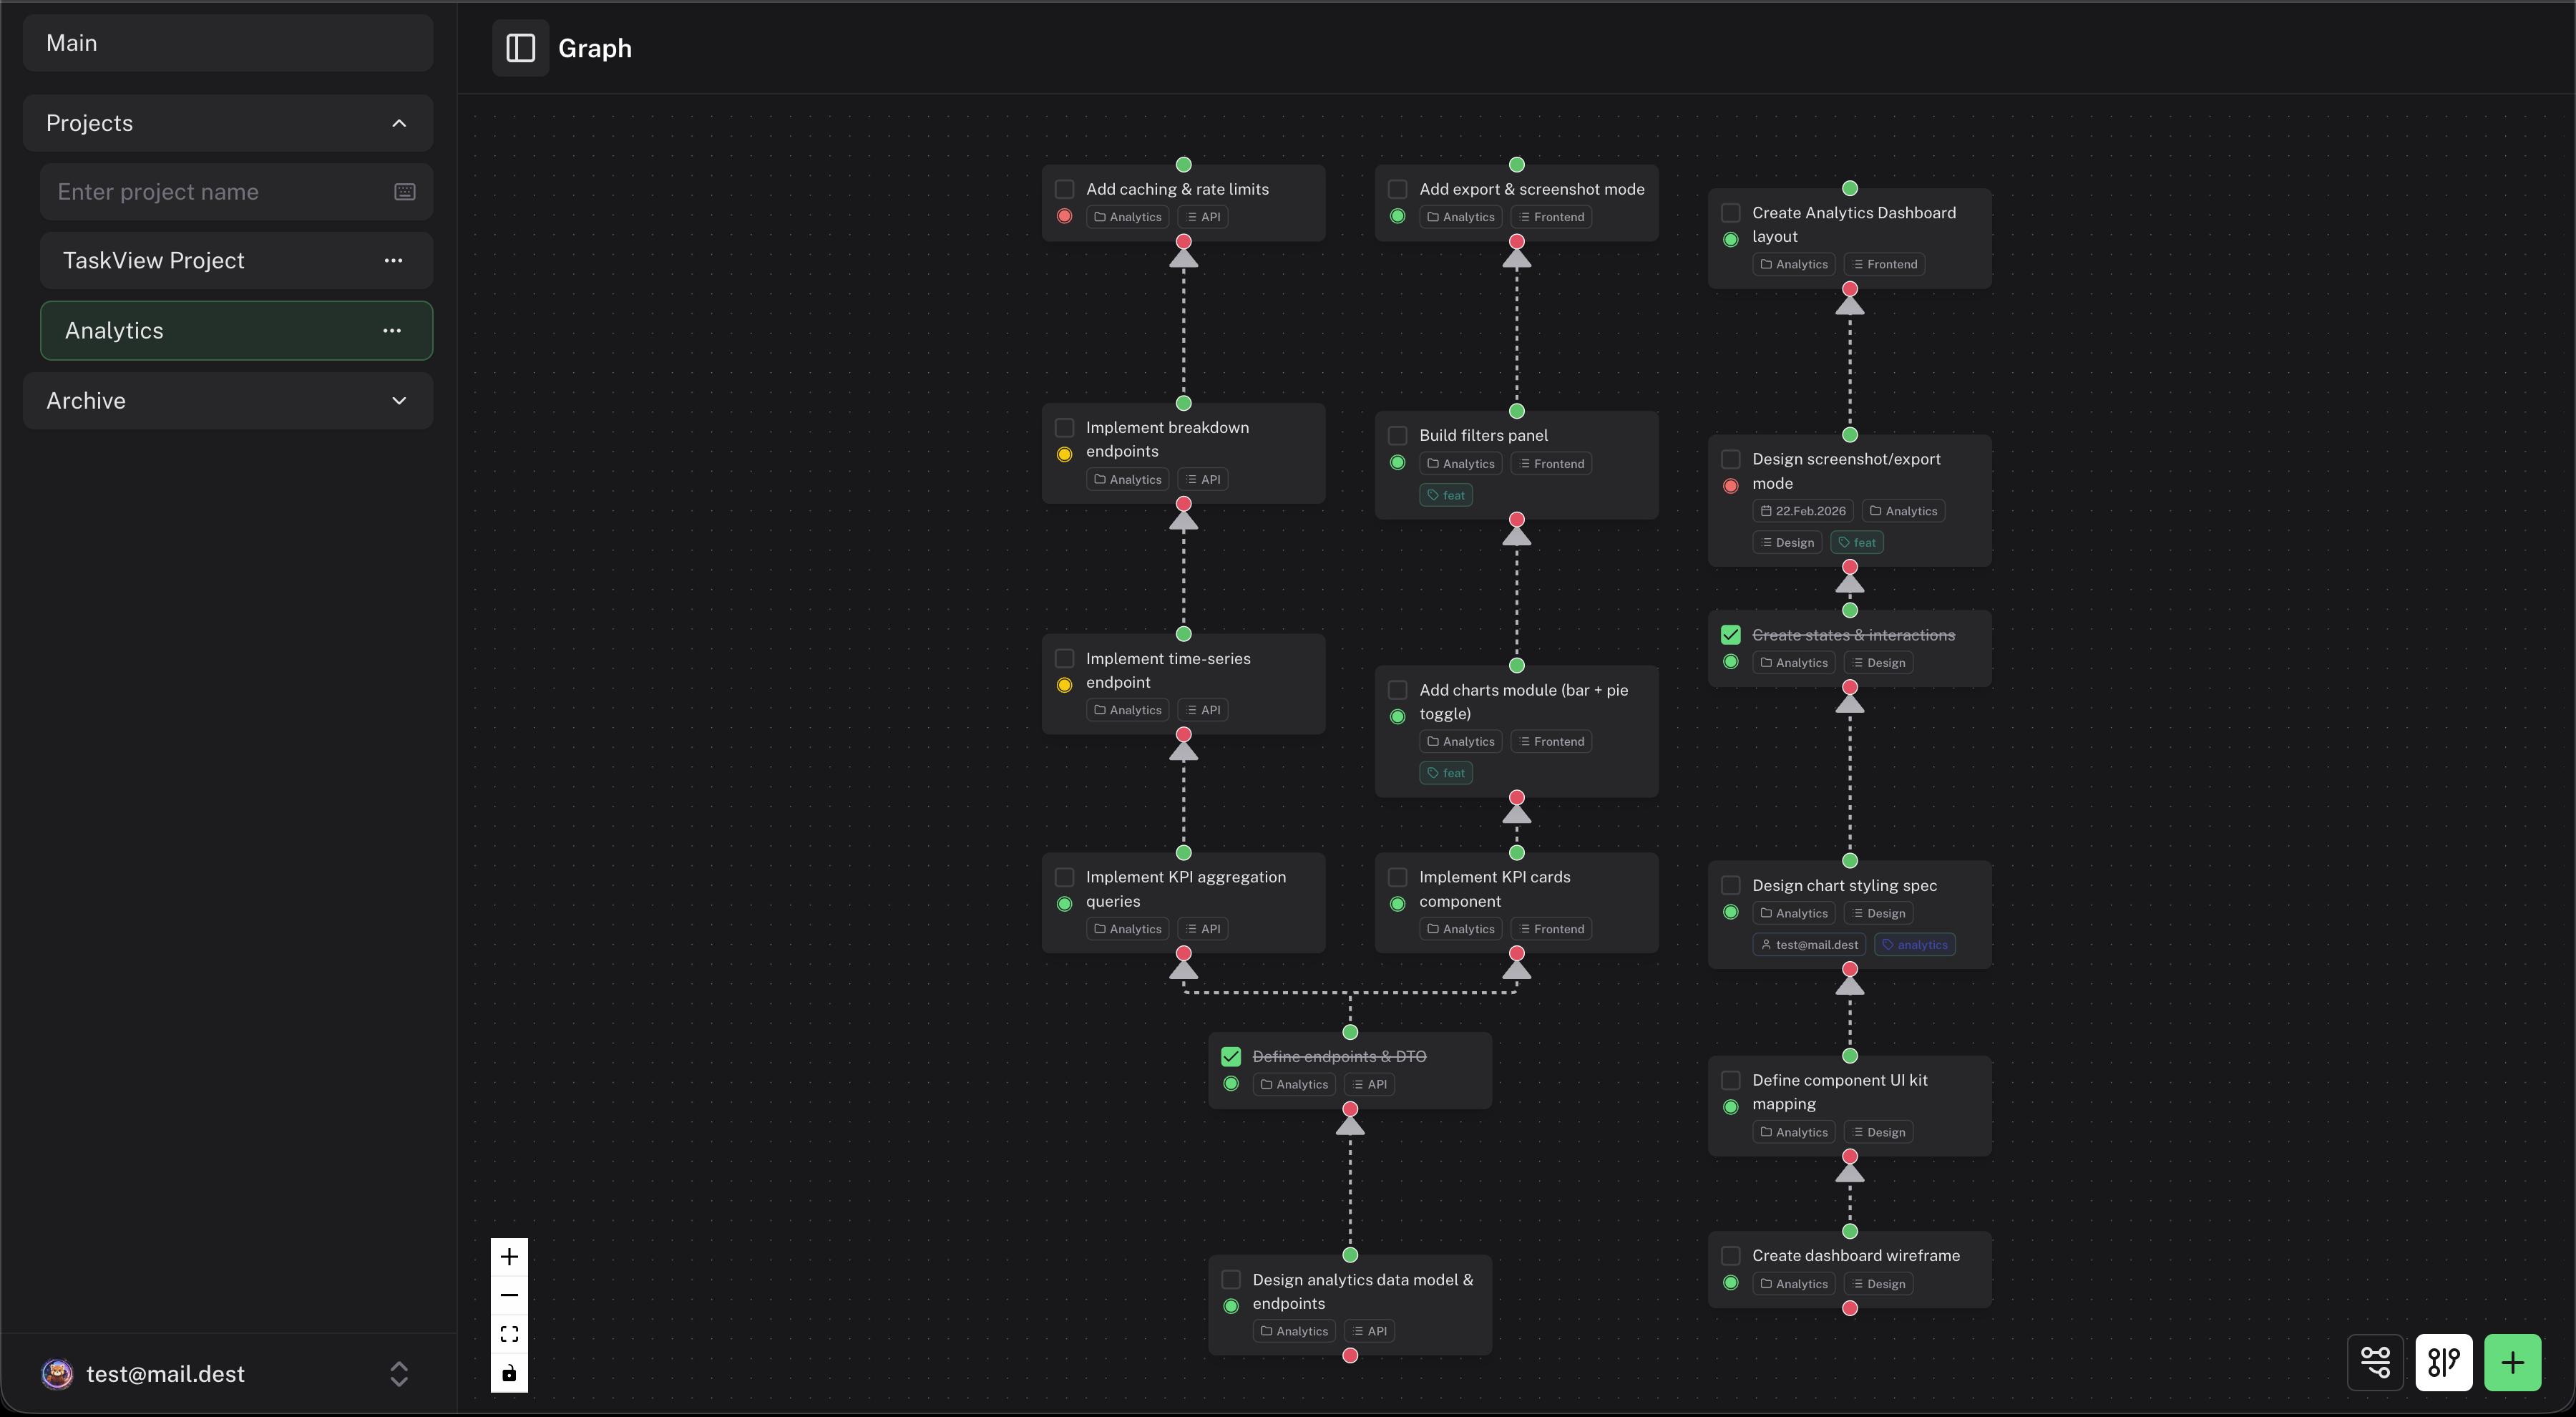
- Link tasks and visualize dependencies on an interactive graph. Spot bottlenecks before they slow you down.

Connects to your dev workflow
- Connect repositories, import issues as tasks, and keep everything in sync with webhook-based updates.
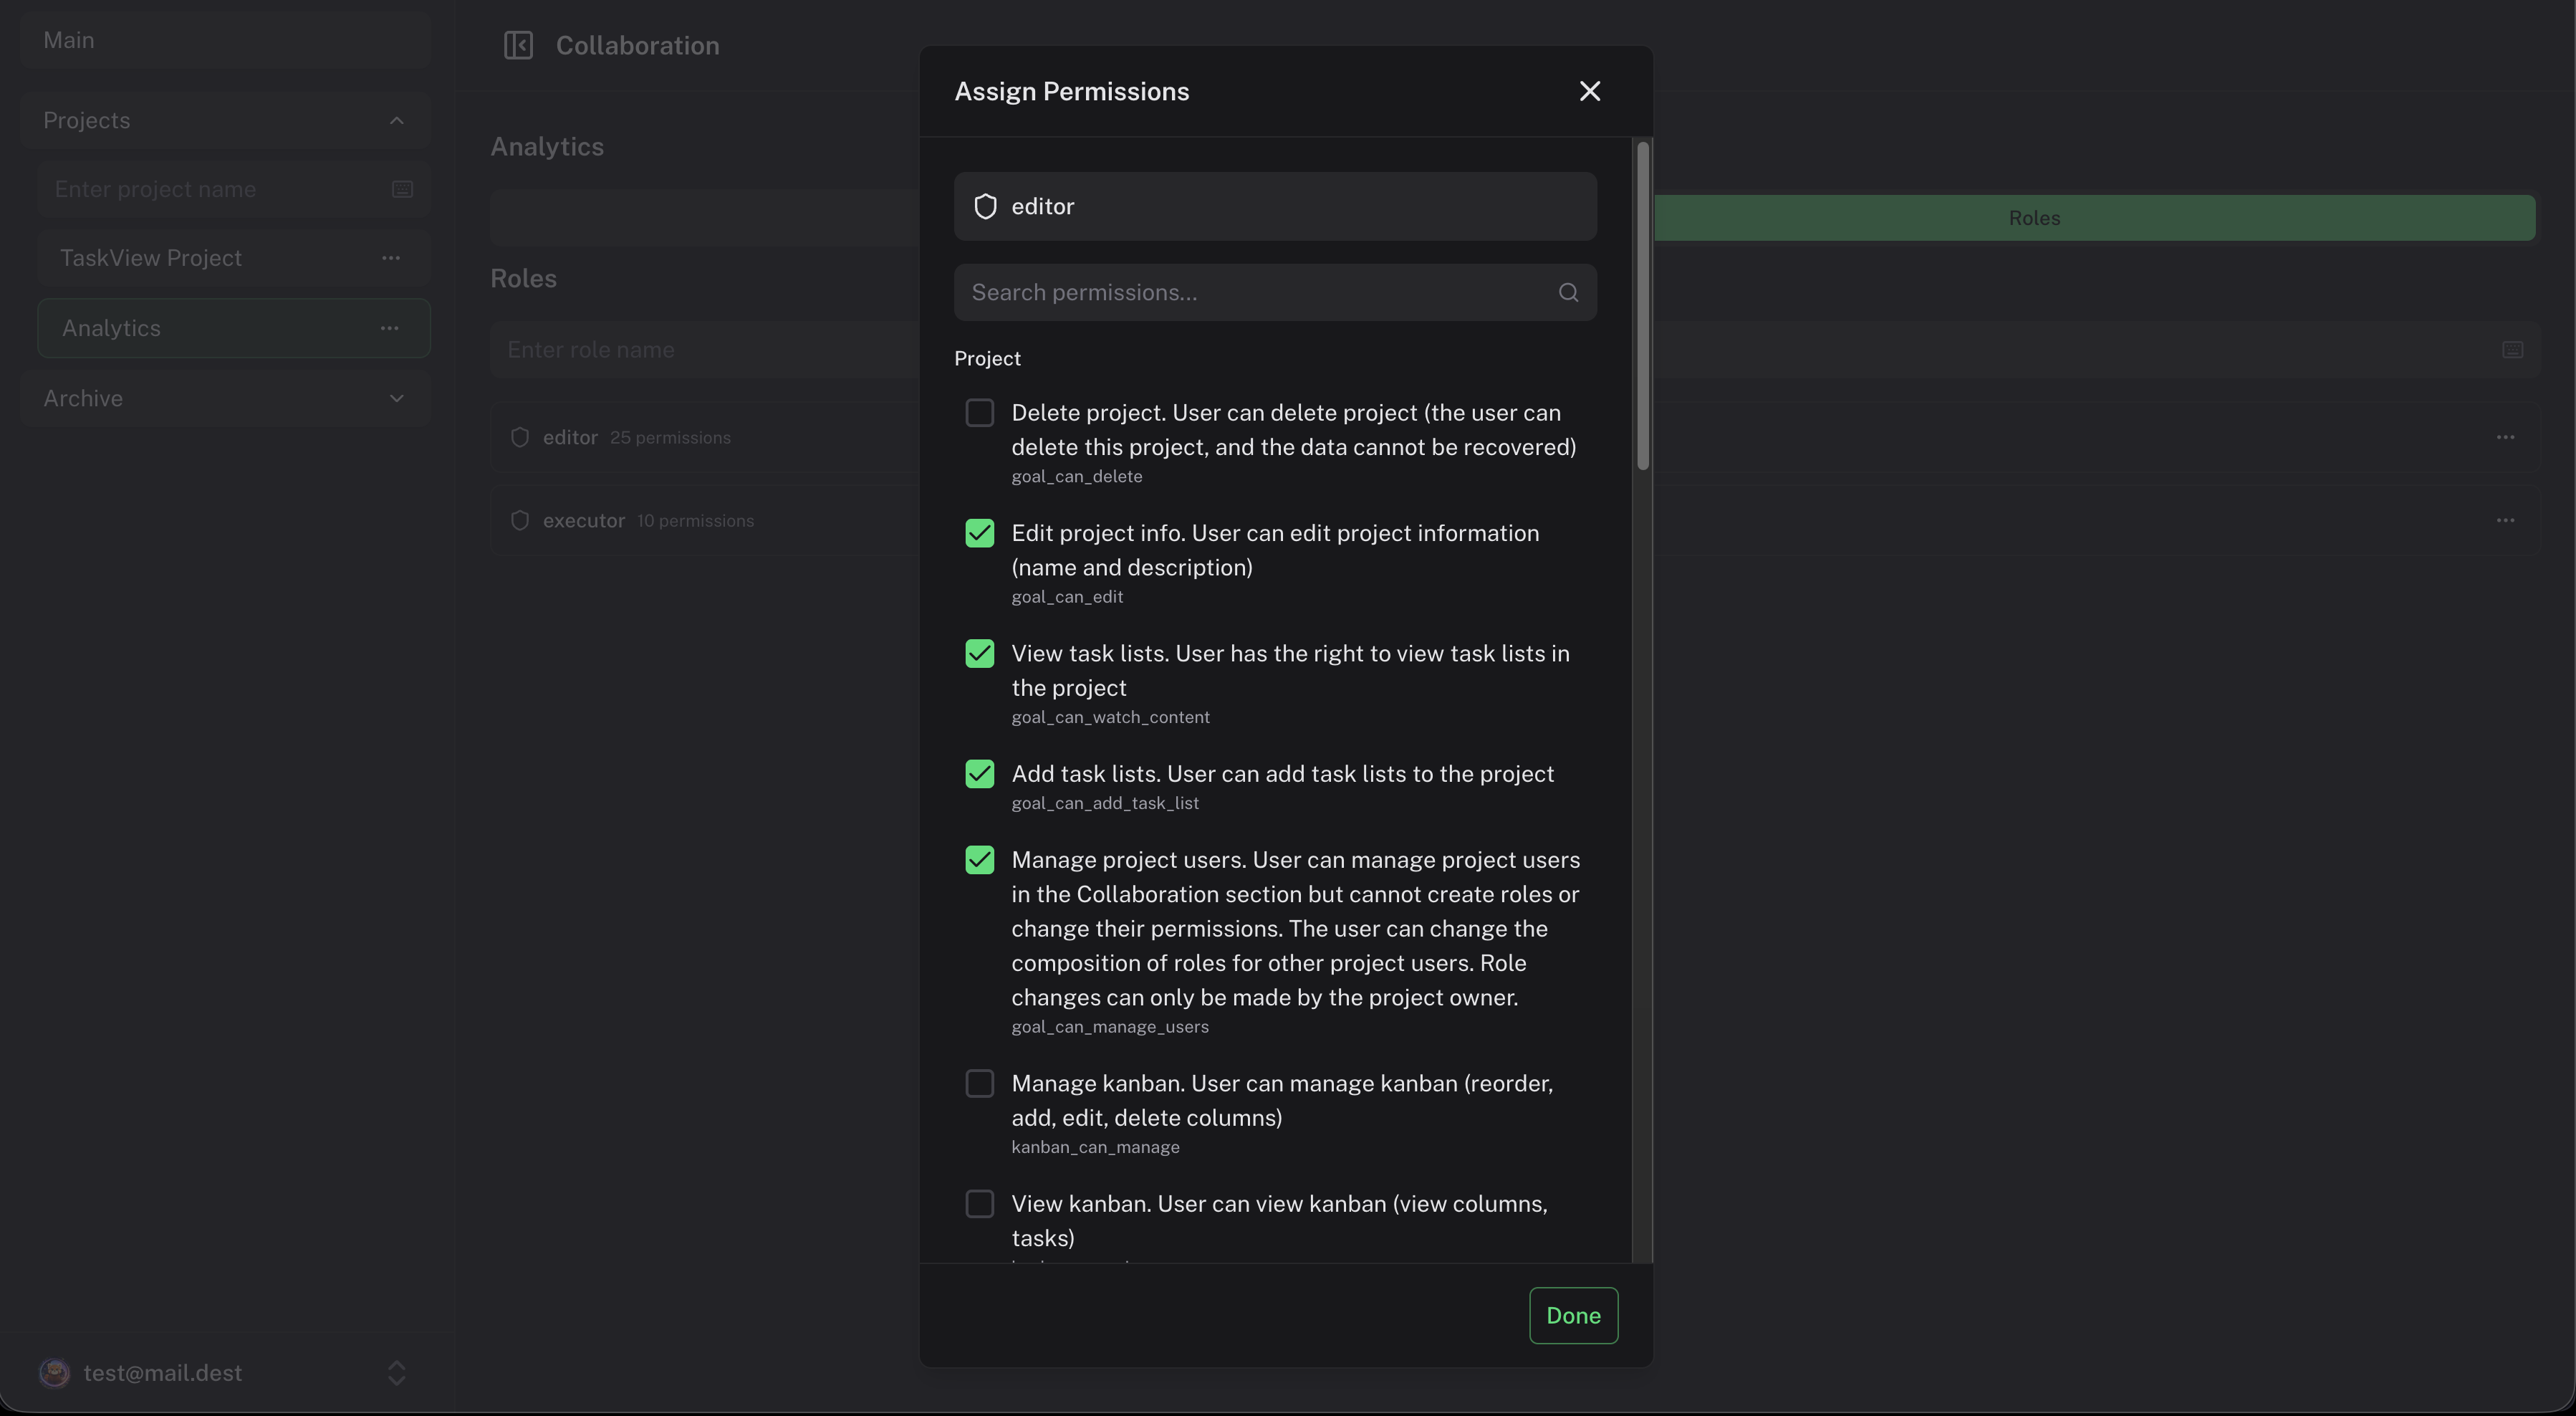
- Invite members by email, assign roles with fine-grained permissions, and control who sees and edits what.
- Attach income and expense amounts to tasks. Track project budgets right where the work happens.
AI assistants work with your tasks
- Official MCP server exposes projects, tasks, tags, and boards as first-class tools any MCP-compatible AI client can call.
- Auth via scoped API tokens — your AI only sees what you allow, nothing more. Revoke access any time.
- Install taskview-mcp from npm, drop it into your Claude or Cursor config, and you are ready to go.
Manage tasks from anywhere
- Built with Capacitor for smooth, native performance on both Android and iOS devices.
- All your projects, tasks, and updates stay in sync with your server in real time.
- Connects directly to your self-hosted instance. No third-party cloud involved.
Why teams choose TaskView

Nikolai Giman
Maker of TaskView
About Me & TaskView
Hi, I'm Nikolai Giman. I build TaskView — solo, in my spare time. I live in Serbia.
Short version of how this came about: I've been doing fullstack development for 11+ years, mostly inside product teams. Along the way I'd worked with every major project management tool out there. Each had something I liked, but none of them got two things right at the same time:
- Permissions that match how real teams work. Some tools had no permissions at all. Others shipped a flat "admin / member" model. The enterprise ones had granular controls but required a dedicated admin to set up. I wanted granular RBAC — per role, per project, per action — that a small team can configure without help.
- Your data stays yours. Self-hosted, no telemetry, no behavioural analytics on users, no ads — even where those things would help me grow the product faster. Cloud is an option, not the default.
So I started building TaskView as my own answer to those gaps. In January 2026 I made it source-available. Today there are 400+ registered users; a few small teams use it daily. I don't run surveys or chase feedback — I read the bug reports that land in my inbox and fix them.
This is a side project, but it's not a hobby. I treat TaskView as a real product I want to make better year after year. I'm in this for the long run.
Want to help shape TaskView? You're welcome to jump in — code, docs, bug reports, ideas. I'd especially like to find a designer to work with: someone who cares about UI craft and wants their work shipped to real teams who use the product daily.
— Nikolai